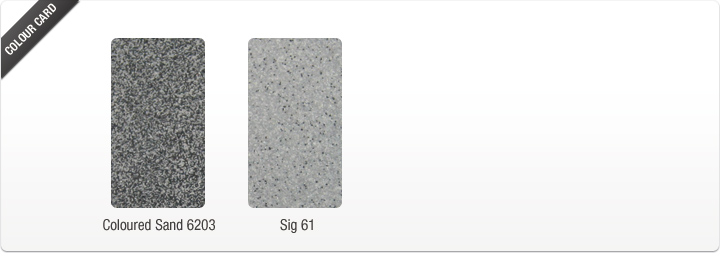
Coloured Sand Floors - Durable & decorative floors
Substrate and preparation
No paint can compensate for a poor substrate or insufficient preparation. The surface of the floor must always be clean and stable before you begin painting. New cement has an outer surface of laitance (cement skin) with poor adhesion. This layer must be removed by a process such as sanding with a machine, sand-blasting or acid pickling with hydrochloric acid.
Acid pickling
Mix 1 part conc. hydrochloric acid with 9 parts water.
Moisten the floor with water.
Spread the acid mixture with a rake or brush.
Rinse clean thoroughly with water.
Smaller surfaces can be steel-brushed and then carefully vacuumed. Cracks and unevenness are repaired with Hagmans Epoxy Spackle.
Check that the floor is not exuding moisture. This can easily be tested by covering at least 1m² of floor with non-porous plastic film and then checking to see if any condensation has formed, or if any changes in colour occur within a day. If you are unsure, we recommend painting with moisture-permeable EP-V.
Old paint is best removed by using diamond grinding or sand-blasting. If you choose to paint over a painted floor, it is important to sand the surface to a matt finish and scrape away all loose paint. When painting over it, the result will depend on the strength and adhesion of the old paint.
Instructions:
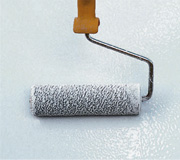
Step 1Prime using EP-V Floor Paint in the colour of your choice. Dilute the paint with between 10 to 20% water for porous/adhesive substrates. Make sure ventilation is good so that the water evaporates before the paint has dried. |
 |
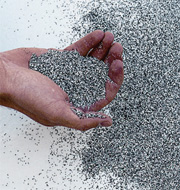
Step 2Alt. 1: Apply EP Thick Film Lacquer to part of the surface (for smaller areas, approx. 5m², Floor Paint EP-V can be used) Then spread the coloured sand onto the wet lacquer. Leave about 20cm free where you will be joining the next layer. This is to avoid painting over the sand.
Alt. 2: Coat the entire surface with EP Thick Film Lacquer, and then use spiked shoes to spread the coloured sand over the wet lacquer. It is important that the floor is covered with a sufficient amount of sand. |
 |
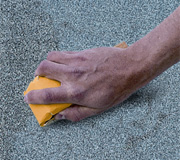
Step 3Let it dry and then remove excess sand (which can be reused). Sand the surface and vacuum thoroughly. |
 |
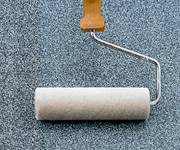
Step 4Indoors: Top lacquer one or two times using EP Thick Film Lacquer. Calculate on approx. ten hours between coatings, and no longer than 24 hours.
Outdoors: Top lacquer at least twice with PU 4020 or at least three times with Acrylic lacquer. |
 |
| NOTE: Extremely high temperatures, such as those caused by direct sunlight, can shorten the drying time locally. Matt sanding should then be performed prior to the next coat being applied. To achieve curing, a floor temperature of at least 10°C must be reached. The completed coloured sand floor is ready for use after approx. 36 hours at 15°C. Full strength and durability are reached after approx. seven days. |
| You will need (Standards vary depending on the structure of the floor.) |
| Repairs: |
Epoxy Filler |
depending on the extent of the damage |
| Priming: |
EP-V Floor Paint |
= 0,12 kg/m² |
| Lacquering: |
EP Thick Film Lacquer |
= 0,20 kg/m² |
| Sand spreading: |
Coloured sand |
= 1,5-2 kg/m² |
| Indoor Lacquer: |
Thick Film Lacquer EP |
= 0,40 kg/m² 1st coat of lacquer.
= 0,25 kg/m² 2nd coat of lacquer. |
Outdoor Lacquer:
|
PU 4020
Acrylic lacquer |
= 0,25 l/m² / coat of lacquer
at least two coats of lacquer
are recommended
= 0,25 l/m² / coat of lacquer
at least two coats of lacquer
are recommended |
